
Sorry it's been quiet around here. Our family took a much needed vacation in the middle of this frigid winter and headed to the sunny south. But we're back! And the count down to spring is on!
I had intended to share these projects before I left, but time got away from me. These were our February Stamp Club projects and they made great Valentines gifts. Even though Valentine's Day is over, I hope you can still find some inspiration in these projects.

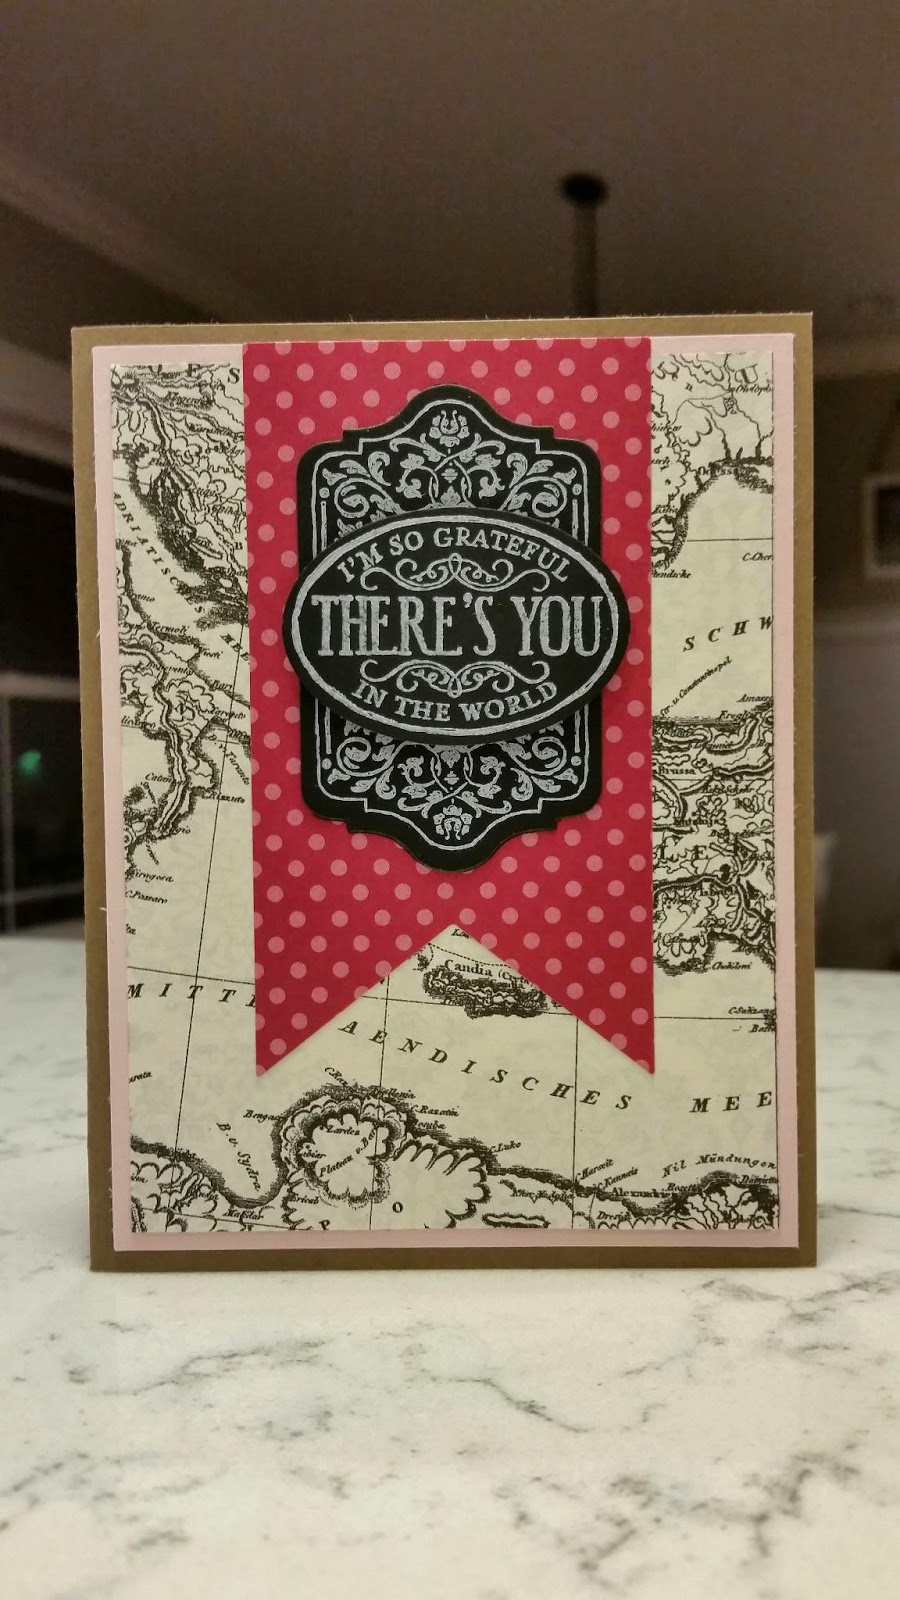
Here are the directions for the card:
·
Fold card base in half and adhere Pink Pirouette
and Typeset Specialty DSP.
·
Cut In Color Patterned paper using Banners
Framelit Die.
·
Stamp background design using either Chalk Ink
or Cotton White StazOn and cut it out using coordinating Chalk Talk Framelit.
·
Stamp Grateful sentiment using either Chalk Ink
or Cotton White StazOn and punch out using the Extra Large Oval punch.
·
Adhere banner and background image. Add oval
sentiment using Dimensionals.
·
Stamp design from Because You Care stamp set on
Very Vanilla card stock and adhere inside card.
I got the idea for this Hershey's Kiss holder from Connie Stewart on her blog. You can see her original idea along with a how-to video HERE. I typed up the directions below the picture.

Hershey’s Kisses Treat Holder
·
Start with Pink Pirouette cut to 4 ¼” x 5”.
Score, with 5” side on top, at 1 ¼”, 2 ½” and 3 ¾”.
·
Fold Pink Pirouette in half and punch folded
side with Decorative Label Punch.
·
Lay the Pink Pirouette flat and stamp using
Raspberry Ripple. Be sure to change your direction on what will be the back
half of the box.
·
Score your Window Sheet (cut to 2 ½” x 2 ½”) in
half at 1 ¼”.
·
Fold in half using the Bone Folder.
·
Put a Glue Dot in each corner and adhere it to
the Pink Pirouette card stock.
·
Use SNAIL adhesive to adhere 5 Hershey’s Kisses
to inside bottom flap.
·
Add SNAIL to the front flap and adhere under the
tent so there is no cut edge on the front of the box.
·
Tie the 12” Baker’s Twine around the treat
holder.
·
Adhere Raspberry Ripple, cut to 1 ½” x 4 ½”, to
the bottom of the treat holder.


