Tuesday, November 26, 2013

Terrific Tips Tuesday

Today's Tuesday Tip is brought to you by a sympathy I had to make recently.  As I was assembling the pieces, I needed something to anchor the sentiment. Sometimes, though, brads just don't cut it because their prongs can stick out of delicate embellishments. That's where Stampin' Up!'s Candy Dots come to the rescue! And with a pack for each color family, you are sure to have exactly what you need right at your fingertips. But wait - there's more! Candy Dot are super simple to use: just peal and stick! And, if you're missing the look of brads, or need something to help hold your project together, you can add a Candy Dot to a Brad Base for fast coordination!


Wednesday, November 20, 2013

Are you ready for a Holiday Sale?

It's that time of year again! And Stampin' Up! has got your back! Check the online store today for great deals and 24-hour door-busters!


Here's are all the details:

  • This sale is the same as the annual Online Extravaganza sale of years past--just with a simpler name.
  • Discounts range between 20 and 50 percent-awesome!
  • Discounted products are available on all order types (customer, demonstrator, workshop, and online).
  • Hostesses who have earned a 50%-off item may not apply that discount to an already-discounted product.
  • There's no minimum purchase required to participate in this promotion. Sale on!
  • For product bundles, you need to use the bundle item numbers provided. If you use individual item numbers, you won't get the discount-bummer.
  • You can buy additional products from any of our current catalogs  on the same order. 


Tuesday, November 19, 2013

Tuesday Tips Blog

Today's tip is a helpful one as you're planning your holidays. Here is everything you need to know when it comes to ordering and receiving your items from Stampin' Up! before Christmas:

"We recommend that you submit your holiday orders by the following dates to receive them by December 24:
  • My Digital Studio print products: December 6 for regular shipping, December 14 for Second-Day Air, and December 15 for Next-Day Air
  • Traditional products: December 17 by 6:50 PM (MT) via phone or 11:50 PM (MT) via online order
Delivery times vary depending on where you live; if your personal experience indicates that it takes longer for packages to reach you, you should allow a little extra time for shipping during the holidays. As you know, we cannot control delivery times. Holiday mail volumes are high, and our delivery services encourage customers to ship as early as possible to avoid disappointment."

Friday, November 15, 2013

Newest Photopolymer Stamp Set

Stampin' Up!'s newest Photopolymer Stamp Set, Eye Catching Ikat, adds a fabric feel along with trendy geometric patterns to your stamping repertoire! Check it out today! 


Wednesday, November 13, 2013

Festive Flurry Ornament Kit

Stampin' Up!'s newest way to help you this holiday season is the Festive Flurry Ornament Kit. You can make beautiful ornaments to give as gifts, decorate your tree, top off the perfect gift, create a sparkly garland or even embellish cards! Check it out online HERE

Festive Flurry Ornament Kit 
#135813
$14.95

Tuesday, November 12, 2013

Terrific Tips Tuesday

Today's tip is brought to you by... Keurig! Did you know Stampin' Up!'s containers for embossing powder and glitter fit perfectly in a K-Cup holder? Try it! Now you can keep these little containers organized and right at your fingertips! 

Thursday, November 7, 2013

Seriously Happy Birthday

My son recently got invited to 3 birthday parties. Ack! I needed boy birthday cards - stat!

So, I grabbed a little of this and a little of that and threw some cards together. I love how they turned out! By far, my favorite My Paper Pumpkin kit yet was the one with the bicycle stamp. I just love this stamp! And, it worked perfectly for a boy's birthday. I used an extra piece of washi tape and the "seriously" stamp from some My Paper Pumpkin kits also. Throw in a birthday sentiment from one of my all-time favorite birthday themed sets, Bring on the Cake (in wood mount or clear mount) and you have a quick, easy card perfect for the birthday boy!

Wednesday, November 6, 2013

Craft Room Update

A few months ago I shared the first peek at my future craft room in our new home HERE. Things are moving along and I am excited to share the first peek inside my craft room now that drywall is up. It's so hard to get a perspective of things before drywall. The room itself is about 10' x 10'. My previous room was 12' x 12', but I think this one is laid out better, plus you'll see there is a bump-out that will give room for a counter and storage. 

This first picture is the doorway coming into the craft room. Beyond it you can see the window and door to the porch which wraps around to the front of the house also.

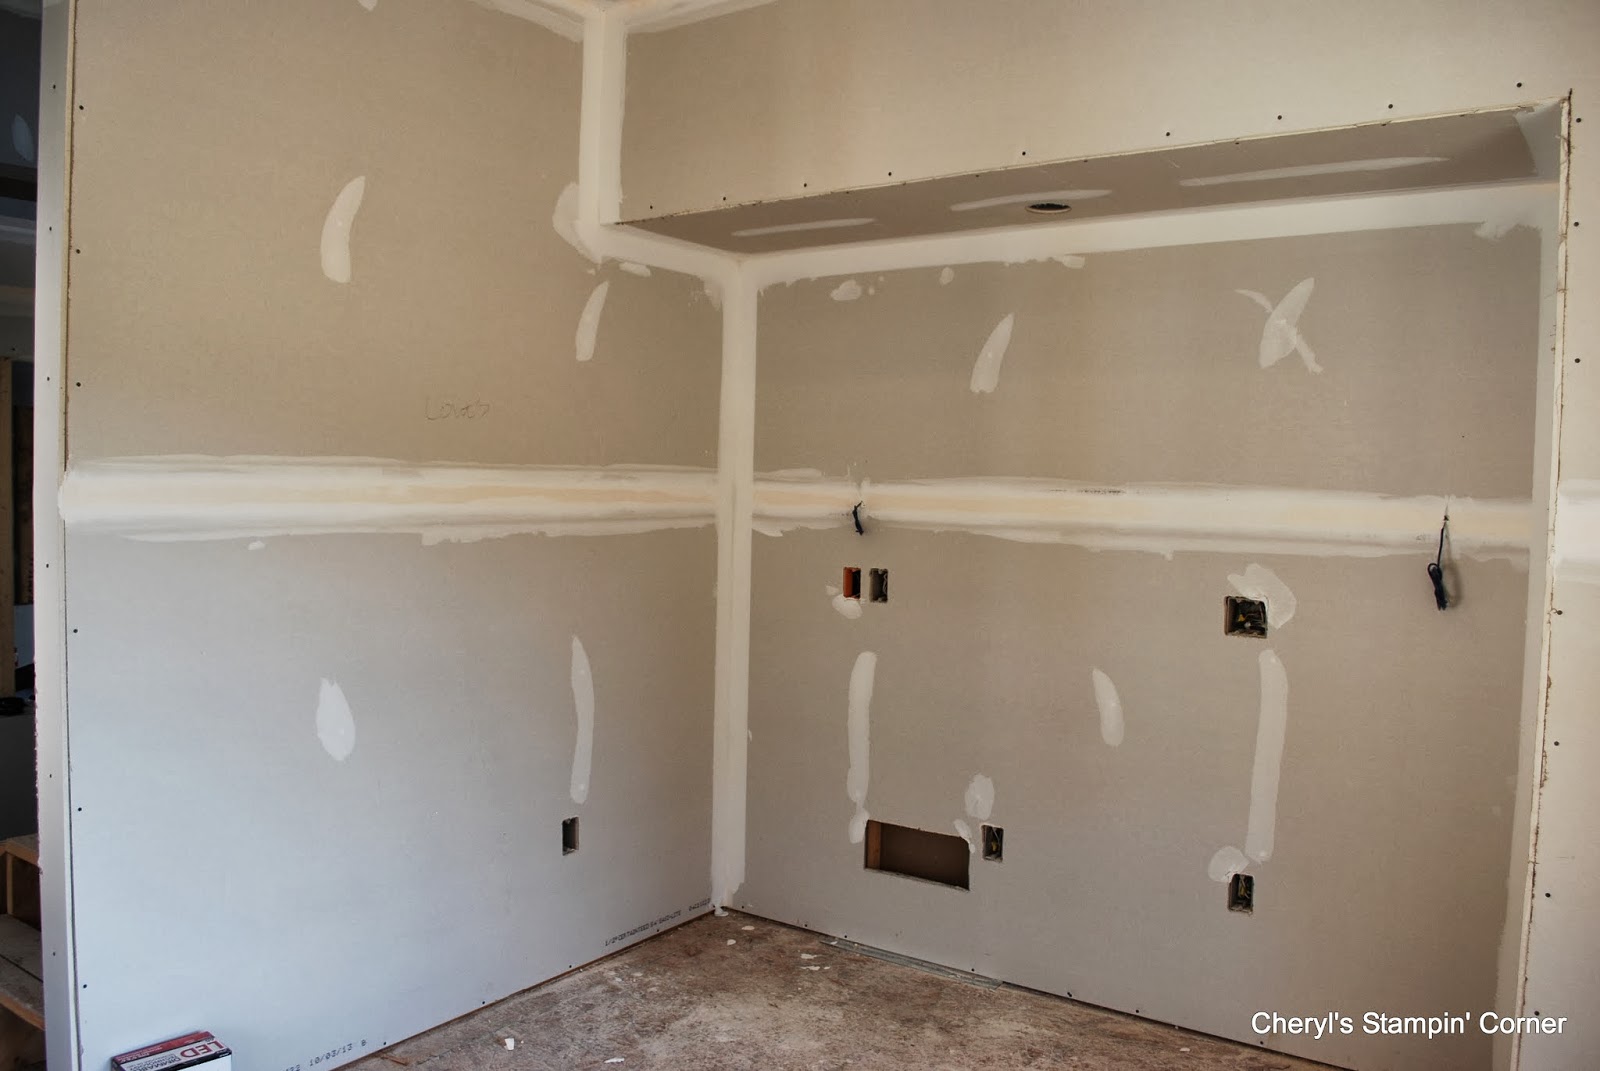
I tried to get the pictures going around the room in order. Just pretend you are standing in the room and turning to your right with each picture. You can see the doorway in the left of this picture. This is the bumped out area where I will have wall and base cabinets and a counter. My awesome husband even thought to put a can light right in the center of the soffit for task lighting. The room itself has 4 can lights. It might seem silly, but I know how important good lighting is to good crafting.

Here you can see the right end of the bump-out and the window that faces out front.

And finally, the front corner of the house. The window on the right here is the same window you see to the left of the doorway in the first picture. Not only will I have great overhead light, but there is great natural light coming in, too. The porch roof will keep the direct light out though, which will help prevent fading the paper that I might leave out.

All we have left is trim, painting, cabinets and flooring. It seems we're in the home stretch. I am counting down the days (months) until we can move in. I told my husband I might unpack my craft room before the kitchen. He wasn't amused. 


Tuesday, November 5, 2013

Terrific Tips Tuesday

Hello again! Today's tip is so simple it makes me happy! Use the Annual Catalog as a tool. I've already shared some ways you can use the catalog - such as getting inspiration for your own projects. 

But there's something I want to make sure you know about and don't miss as you're flipping through the pages. I write all the time that coordination is the key to many of Stampin' Up!'s great products. Well, sometimes you might wonder exactly how to know what coordinates with what. Stampin' Up! makes it easy to know! Any stamped image in the catalog outlined in blue will have a coordinating punch and any image outlined in red coordinates with a die. You can then look at the bottom of the page or next to the item number to see where you can find the coordinating punch or die. Don't you love creating beautiful projects without having to cut around all the details?!

Monday, November 4, 2013

Best of Snow

With a new month comes another Best of 25 Years Stamp Set. I have really enjoyed the walk down memory lane, revisiting some of the most popular stamps from Stampin' Up!'s 25 year history. And this month did not disappoint! I love those cute hedgehogs! Check it out:


You can click on the flyer above for more information, or click HERE to see more "Best of" stamps.

Sunday, November 3, 2013

Christmas Card Stamp Camp Sneak Peak #5

Are you excited now? We will get to make five cards at Stamp Camp! This time, we'll make 4 of each card. And this card uses several new tools and toys from the Holiday Catalog.


Supplies Used:

Stamp Sets:
Label Love
That's the Ticket

Paper:
Baked Brown Sugar, Calypso Coral and Very Vanilla card stock

Ink:
Baked Brown Sugar

Accessories:
Artisan Label and Ticket Duo Builder punches
Pretty Print Textured Impressions Embossing Folder
Big Shot
Expressions Thinlits Dies
1 1/4" Burlap Ribbon

Saturday, November 2, 2013

Christmas Card Stamp Camp Sneak Peak #4

This card reminds me of holding a nice cup of hot chocolate on a cold day. It screams, "traditional" and "cozy". And I just love it and all the elements on it. I hope you do, too!


Supplies Used:

Stamp Set:
Wishing You

Paper:
Crumb Cake, Very Vanilla, Old Olive and Cherry Cobbler card stock
Season of Style Designer Series Paper Stack

Ink:
Old Olive and Cherry Cobbler Marker
VersaMark

Accessories:
White Embossing Powder
Heat Tool
Chalk Talk Framelits
Big Shot
Chevron Punch
Decorative Label Punch
Cherry Cobbler Seam Binding Ribbon
Glue Dots
Glitter/Glue Pen

Friday, November 1, 2013

Christmas Card Stamp Camp Sneak Peak #3

This third card was based on a request. Yes, I take requests! A friend who likes to come to my Stamp Camps asked if we could use a certain stamp set that she had her eye on. I think you'll agree it's a beautiful set, perfect for creating Christmas cards or any winter themed scrapbook page. I got the idea for this card from Mary Fish's amazing blog and switched up the gold for silver:


Supplies Used:

Stamp Set:
Snowflake Soiree

Paper:
Whisper White card stock
Brushed Silver card stock

Ink:
Silver Metallic Encore Pad

Accessories:
Dimensionals
Designer Vintage Faceted Buttons
Glue Dots