Thursday, December 10, 2015

Year End Sale


The end of the year is hear and Stampin' Up! needs to make room in their inventory for new products. This is great news for you because many items will be offered at a great savings! Items will be added to the clearance rack, including some items from the holiday catalog. (View the holiday retiring list HERE) During this sale, now through January 4th, will be HERE in the online store under the Year-End Sale category, temporarily being integrated with the clearance rack.

Thursday, November 19, 2015

November Stamp Club

Our Stamp Club is meeting tonight and I wanted to share our projects. I had so much fun creating these! We have had some crazy Christmases the past few years which have included moving, living in a tiny rental, having open houses, family staying with us and being out of town. 

This is the first holiday season in a while that I can remember being excited for and not stressed out. With that in mind I decided to create a fun Christmas card, trying a new technique I've been eyeing for a while, and some Christmas tags.

Now you can feel prepared for what the holidays have to bring as well. I hope you enjoy these projects also!


Paper Half Circle Christmas Tree Card
1.       Cut a circle out of patterned paper. I used the largest smooth edge circle from the Circles Collection Framelits.
2.       Cut the circle in half at 2-1/8”.
3.       Mark the halfway point on the straight edge of the circle point. Again, it is 2-1/8”. Fold one corner over to the halfway mark. You can play around with overlapping the edges as you fold for a different look.
4.       Take the open edge of the corner and fold it back to line up with the fold you just made.
5.       Flip your tree over and fold the shorter edge (the original fold) and fold it over to line up with the cut edge of the circle, the longer side.
6.       Your tree is done, but you can also reverse the folds and see if you like it better that way.
7.       Sponge the edges of the tree and adhere the flaps down.
8.       Cut the trunk and using the banner punch from Early Espresso paper. Cut a banner, also using the banner punch, from coordinating Island Indigo card stock.
9.       Add the star using Glue Dots.
10.    Stamp the sentiment at the bottom of the card and adhere all the pieces together.


Snowman Tag
1.       Cut scallop square using the Big Shot and the Bigz Scallop Square Duo between two cutting pads.
2.       Stamp snowflakes on the back of the white scallop square and the front of the Pool Party Square using Pool Party ink. Add sentiment on the back of the scallop square.
3.       Punch out 3 circles for the snowman. Sponge the edges. Cut out the arms and nose. Draw eyes, mouth and button on the snowman, lining up the circles for placement. Use the Basic Gray Stampin’ Write Marker.
4.       Adhere the arms and the nose to the appropriate circles.
5.       Layer the 3 circles together using Dimensionals. Add the snowman to the tag base.
6.       Punch a hole in the top and add the ribbon.

Modern Tree Tag
1.       Cut Whisper White card stock using the Big Shot and the Deco Labels Framelits.
2.       Use the Tree punch on the Real Red card stock. Punch the circle around the tree using the 2 ½” Circle punch.
3.       Add the red borders using the Seasonal Snaphshots 2015 stamp set in Real Red ink. You may also want to add a, “To & From” stamp on the back.
4.       Line up the tree punch and stamp, “JOY” in the center.
5.       Adhere the red circle using dimensionals.
6.       Punch a hole in the top and add the ribbon.

Snowflake Tag
1.       Cut the Tip Top Taupe card stock using the biggest shape from the Chalk Talk framelits set using the Big Shot. Cut out the Lost Lagoon card stock using the smaller size tag from the same set.
2.       Run the Tip Top Taupe through the Big Shot in the embossing folder.
3.       Stamp the snowflake on the Lost Lagoon card stock using Lost Lagoon Ink. Sponge the edges using Whisper White craft ink.
4.       Punch out the Silver Foil sheet using either the Double Snowflake punch or the Triple Doily punch.
5.       Stamp the, “Merry Christmas” sentiment using Lost Lagoon ink and punch it out using the Washi Tape punch.
6.       Adhere the layers together and use Dimensionals to pop up the sentiment.
7.       Punch a hole in the top and add the ribbon.

Thursday, November 12, 2015

Birthday Card for a Special Boy

One of my nephew's birthday was this week. I love sending cards to my nieces and nephews - especially because most of them live out of state. It makes them feel closer. And I love the thought of their smiles when they get mail!

This card is great because it's perfect for kids - both boys and girls! All you have to do is change the colors of card stock and ink you use and the possibilities are endless!


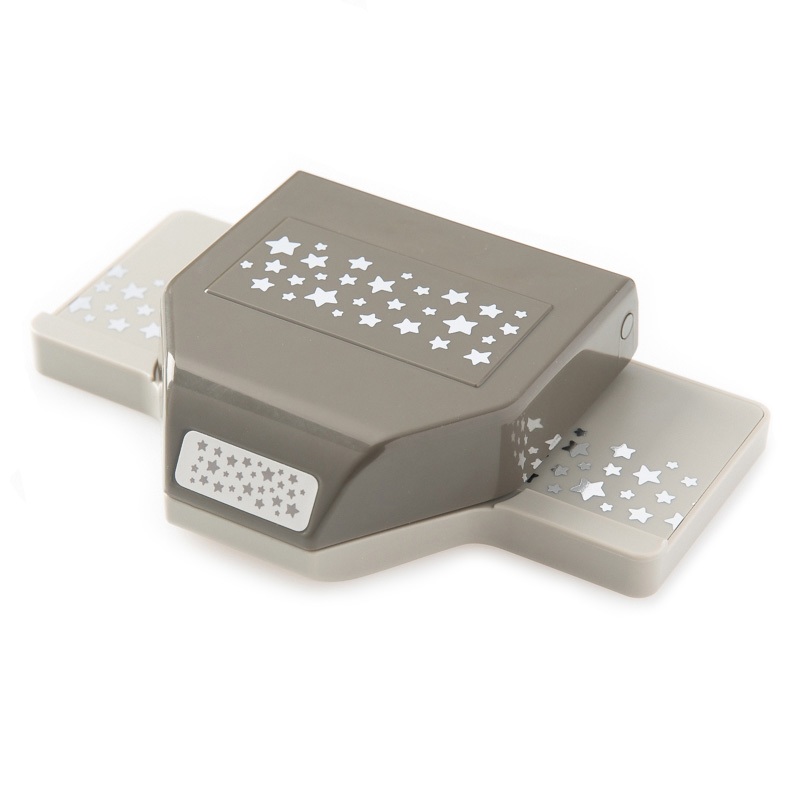
I used the Words of Truth Stamp Set, Confetti Stars Border Punch and a mini star punch. Easy as pie! And so cute!

Friday, November 6, 2015

Christmas Card Sneak Peak #4

Isn't this card classy? It might be hard to tell from the picture, but the gold embossing on the tree add sparkle and make you want to reach out and touch it. So fun!


Stamp Sets:
Evergreen
Wishing You

Paper:
Garden Green
Crumb Cake
Chocolate Chip
Very Vanilla

Ink:
Chocolate Chip
Pear Pizzazz
VersaMark

Accessories:
Gold Embossing Powder (and Heat Tool)
1/4" Cotton Ribbon in Pear Pizzazz
Linen Thread
3 Corner Punch

Thursday, November 5, 2015

Stamp Camp Sneak Peak #3

I think this card is the star of the show! Ha! I have fallen in love with the look of the Softly Falling Textured Impression Embossing Folder - there are so many possibilities!


Stamp Sets:
Flurry of Wishes

Paper:
Thick Whisper White Card Stock
Whisper White Card Stock
Lost Lagoon Card Stock

Ink:
Lost Lagoon

Accessories:
Softly Falling Textured Impressions Embossing Folder
Big Shot
Snow Flurry Punch
Stars Framelits
Dimensionals
Jewels Basic Rhinestones

Wednesday, November 4, 2015

Christmas Card Stamp Camp Sneak Peak #2

Are you ready for card #2? I just adore this one!


Stamp Sets:
The Newborn King

Paper:
Tip Top Taupe
Very Vanilla

Ink:
Tip Top Taupe

Accessories:
Vintage Wallpaper Textured Impressions Embossing Folder
Big Shot
Gold Metallic Baker's Twine
Tip Top Taupe 1" Dotted Lace Trim

Tuesday, November 3, 2015

Christmas Stamp Camp Sneak Peak #1

I know you've been waiting to see the Christmas Card Stamp Camp pictures! I finally have the cards all finished and ready to share. I hope you love them!


Stamp Sets:
Festival of Trees
Four the Holidays

Paper:
Cucumber Crush
Real Red
Whisper White
Gold Foil Sheet

Ink:
Cucumber Crush

Accessories:
Confetti Stars Border Punch
Mini Star Punch
Tree Punch
Dimensionals
Glue Dots

Thursday, October 29, 2015

October Stamp Club

I'm sorry it's been so silent here! Life is crazy! I have the Christmas cards made for Stamp Camp next month. I am waiting for an order to arrive so I can add a few finishing touches and then I'll share them here as soon as I can. But until then, I thought I'd share our Stamp Club projects from this month with you:


Fall Thank-you Card
1.       Punch corners using the Triple Corner Punch. Set the punch down flat and line the corner of the paper up with the guides. Push down over the entire top of the punch, but it is helpful if the heal of your hand is over the corner you are using to punch.
2.       **When you sponge the trees remember that the Sponge Daubers have a wider circumference than some areas of the tree. Don’t go overboard unless you want a really artsy look. ;)
3.       Lay the mask over the center of the Very Vanilla Cardstock. Stamp the tree background, pressing firmly. The edges will still be a little lifted but it will work out. While the mask is still in place sponge sky, trees and grass.
4.       Lift off mask.
5.       Stamp pine tree. Sponge the color on the pine tree.
6.       Use a blending pen to add a little color to the trunk of the pine tree. I didn’t need to get any extra ink on it; it picked up some from the stamped image just fine.
7.       Add sentiment and adhere to card base.


Perpetual Calendar Blocks
1.       To create the blocks:
a.       Use the 6”x6” card stock to create two boxes measuring 1.75x1.75x1.75 inches. Follow the directions on the Gift Box Punch Board.
b.      Cut out the numbers for the boxes using the Little Numbers Thinlits Dies.
                                                               i.      Numbers for Block 1: 0, 1, 2, 3, 4, 5
                                                             ii.      Numbers for Block 2: 0, 1, 2, 6, 7, 8 (The number 6 will double as the 9)
c.       Punch out circles from Designer Series Paper and adhere numbers to each circle.
d.      Adhere numbers in the above configuration to the blocks.
e.      Regular adhesive worked fine for me for all the circles except the one attached to the top of the block where the sides come together. Used Sticky Strip for that circle. I found that liquid glue didn’t work as well because it had a hard time adhering to the shiny part of the cardstock.
2.       To create the holder:
a.       Begin with a piece of 5”x5” card stock. Score in ½” on 3 sides. Score the end opposite the unscored side at 2.5”. *See picture below.
b.      Round the top corners with a Corner Rounder punch.
c.       Decorate the holder any way you’d prefer. I used a border stamp along the top and bottom front (opposite sides of the paper).
d.      Trim the joints, fold and adhere holder.
e.      Stamp and punch out the months (if preferred).
f.        Create a banner. I used the, “it’s your day!” stamp and a coordinating framelit from the Chalk Talk Framelits. Decorate as preferred.
g.       Adhere the banner to the holder.

This picture shows where I scored and cut the card stock for the block holder. You can also see where I added glue dots. I'm not sure I'd recommend glue dots though, because they are a little too thick to look nice in the finished product.


Thursday, October 15, 2015

Project Life Tips Video

Have you missed me? Life is crazy. Still. I keep thinking this will stop, but according to many people older than me, it will take a while. I guess kids just do this to you. ;) So will going back to school. But I'm still around. In fact, I have already started creating Christmas cards for the next Stamp Camp. So stay tuned for that!

I have also been trying to stay caught up on my scrapbooking. I got pretty far behind this summer and was overwhelmed when I ordered pictures recently. But thanks to Project Life I've been able to catch up pretty quickly! And Stampin' Up! was kind enough to put out a great tips video recently. I wanted to share it with you in case you are feeling as busy and overwhelmed as I am. Or, maybe you feel like you've been in a scrapbooking rut. Check it out! I think it will help you, too!


Friday, September 25, 2015

Stamp Camp Sneak Peek #4

And last but not least! This is another simple card but it has such character! I think the colors work well for Fall, but really would be perfect any time of the year!
Stamp Sets:
Kinda Eclectic
Sassy Salutation

Paper:
Hello Honey
Whisper White

Ink:
Hello Honey
Blackberry Bliss
Mossy Meadow
Melon Mambo

Accessories:
Jewels Basic Rhinestones
Butterfly Punch
Dimensionals

Thursday, September 24, 2015

Stamp Camp Sneak Peek #3

This card is simple but elegant. Perfect for those words of sympathy we often need in all too short of notice.
Stamp Set:
Heartfelt Sympathy

Paper:
Tip Top Taupe
Delightful Dijon
Rich Razzleberry

Ink:
StazOn

Accessories:
Designer Very Vintage Buttons
Glue Dots
Lace Paper Doilies
Gold Baker's Twine
Gold Embossing Powder (and Heat Tool)

Wednesday, September 23, 2015

Stamp Camp Sneak Peek #2

Oh I just love this card! So simple but so pretty! Best. Card. Ever.
Stamp Set:
Best Day Ever

Paper:
Whisper White - Thick
Whisper White Naturals
Crushed Curry

Ink:
Watermelon Wonder
Pool Party

Accessories
Linen Thread
Jewels Basic Pearls
Dimensionals
Petite Petals Punch

Tuesday, September 22, 2015

Stamp Camp Sneak Peek #1

Wooo! I'm a little late getting these posted! Sorry! I had someone ask me today if I was going to post pictures of the Stamp Camp cards and, honestly, I was putting the finishing touches on two this morning! It's been a little crazy around here lately.

I grew up visiting Cape Hatteras every summer. This lighthouse represents my happy place. When I saw this stamp set I knew I just had to get it. I combined it with another nautical set, The Open Sea, to create this great all-purpose card. It would make a great thank you card or masculine birthday card. Or, keep it simple and just add a note inside!
Stamp Sets:
From Land to Sea
The Open Sea

Paper:
Crumb Cake
Early Espresso
Very Vanilla

Ink:
Early Espresso
Crumb Cake

Accessories:
Postage Stamp Punch
1" Square Punch
Argyle Embossing Folder
Sponge

Thursday, September 17, 2015

Stamp Out Breast Cancer

I've shared before how much fun I have with Stampin' Up!'s monthly subscription, My Paper Pumpkin. Well, here's your opportunity to get in on the fun and make a difference! 


To show our support for Breast Cancer Awareness Month, we're going PINK . . . or at least our October boxes are! And because we know our subscribers want to share the love too, we will be making a donation on their behalf to the Breast Cancer Research Foundation (BCRF).
Stampin' Up! will donate
  • $1 for every active Paper Pumpkin subscriber.
  • Plus, an additional $1 for every new subscriber.
Together, we will make a difference!

Thursday, September 3, 2015

Masculine Birthday Card

My nephew had his first birthday away at college this weekend. He graduated with honors and we couldn't be more proud of the young man he's grown into. It's hard to believe that little guy that was my ring bearer at my wedding is heading out into this great big world, but he is so ready. I needed a good, strong card that wasn't too cheesy. I think this one using Guy Greetings fit the bill!

Tuesday, September 1, 2015

The Holiday Catalog is Here!

School has started and the days are getting shorter. That means looking ahead and planning ahead and now we can do that with a little creative help from Stamin' Up!'s Holiday catalog. 


If you haven't had a chance to check it out yet, you need to! I am head over heals about what's inside and I know you will be, too! Check it out today! HERE is a link to the catalog, or you can shop online HERE.

And while you're shopping, check out the Clearance Rack - many new items have been added and will only be available while supplies last!

Thursday, August 27, 2015

Pretty Swell Friends

My daughter's birthday was last week. We had an art party at an art studio where my daughter and her friends got to created several different types of art including their own splatter art canvas and a large splatter art canvas that Sydney will be able to hang in her room. 

She has such sweet friends and we were thankful for the ones that were able to come (and missed the ones who weren't!). I wanted to keep things simple because, I'll be honest, I am just not that into birthday parties. It's taken me many years of motherhood to be confident enough to say that. And there it is. We do parties for the kids every other year (a terrific piece of advice from a dear friend years ago) and party years are stress years for me. But at least it's only every other year. We still try to do something special for every birthday, but I don't feel like I have to make a big production out of it.

Anyhow, I, of course, searched Pinterest for some ideas and put a few of them together into this cute, crafty paint can. Inside the girls each received some candy, a painter's pallet sucker, mini easel and canvas, a multi-color crayon pen and a mini set of watercolor paints. So cute! And simple! And, hopefully, not a lot of junk that will just get tossed at home.

I also made simple thank-you cards that coordinate with the invitations I shared last week. Speaking of last week, I think I have Picasa figured out. Of course, when I say that, I also still had trouble with Picasa and uninstalled/re-installed it again today. But I think I jumped the gun. I am falling rapidly out of love with Picasa, but it will do for now. I think Photoshop is nearer in my future than I imagined. Anyhow, if you find yourself having the same problems I was, try opening Picasa by right-clicking (if you have Windows) the icon and selecting, "Run as administrator." I hope that helps someone out there! 

Thursday, August 20, 2015

Art Party/Computer woes

I wanted to share a care with you that I made to invite my daughter's friends to her birthday party. Unfortunately, I have just spent the past hour looking for solutions to problems I am having with uploading/editing/exporting my photos now that I have the Windows 10 update. Aint nobody got time for that!  I hope you enjoy the card. The lighting was bad. I was able to edit the picture nicely in Picasa, but I am unable to share the edited picture with you! Who knew you'd want to go back to Windows 8.1?! I love everything about the new upgrade except this, and  this is a huge issue for me. I am seeing online that people with Photoshop and Picasa are both having problems. Hopefully Microsoft will take care of this issue soon. It seems to be a settings/permissions issue but no one has a clear answer on how to fix it...
I'm sorry this post turned into a bit of a rant! Are you having similar problems? Have you found a fix?

**Update a day later**

I played around a little more with the photo gallery on my computer. Since I've always used Picasa I never played around with the photo gallery. It does have some photo editing capabilities so I'm going to have to play around with it a little and see what happens. Here you can see the picture cropped, straightened and brightened up a bit. There's hope!

Thursday, August 6, 2015

Sales Tax Holiday

Summer has flown by! I blinked and we're talking about getting the kids ready to head back to school. Our state is offering a sales tax holiday this weekend that makes thinking about the end of summer just a little bit easier. Stampin' Up! is getting in on the action, too! Here is a spreadsheet to see what is included for your state. 


Thursday, July 30, 2015

An easy anniversary card

The other day I realized that I needed to quickly throw together an anniversary card. I just love how it turned out. I used an Aqua Painter and Pool Party ink on Watercolor Paper to create a quick color wash background. Then I stamped the flower image and the sentiment in Blackberry Bliss . It was that simple! I added a couple pearls for a little extra class and I was done!

Thursday, July 23, 2015

July's My Paper Pumpkin

I just adore this month's My Paper Pumpkin kit! I'm not a big coffee drinker, but I know so many people who are. This is the perfect card to tuck Starbucks gift card into and give to someone to say, "thanks." And I did just that for someone who really helped me out this summer. 
If you haven't tried My Paper Pumpkin, check it out HERE. You can even get half off your first two kits right now! If you are already a subscriber (then you know how fun it is!) and you can order past kits HERE.

Thursday, July 16, 2015

Just a little Hello.

The kids all went to camp a couple weeks ago. I didn't think about it before hand, but on our information sheet I saw that you could send your kids letters. So, of course, I had to whip up some cards quick so they would get them that week. I blatantly used Pinterest and pretty much copied these adorable cards (see my Cards Pin Board HERE). They were so simple to throw together - perfect!

Thursday, July 9, 2015

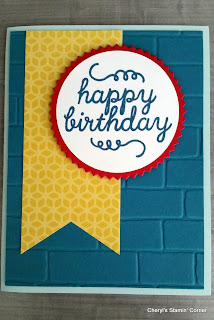
A quick Happy Birthday!

I created this card as a quick, throw-together birthday card and I really liked how it turned out. 

I used a stamp I have fallen in love with from a recent My Paper Pumpkin kit.

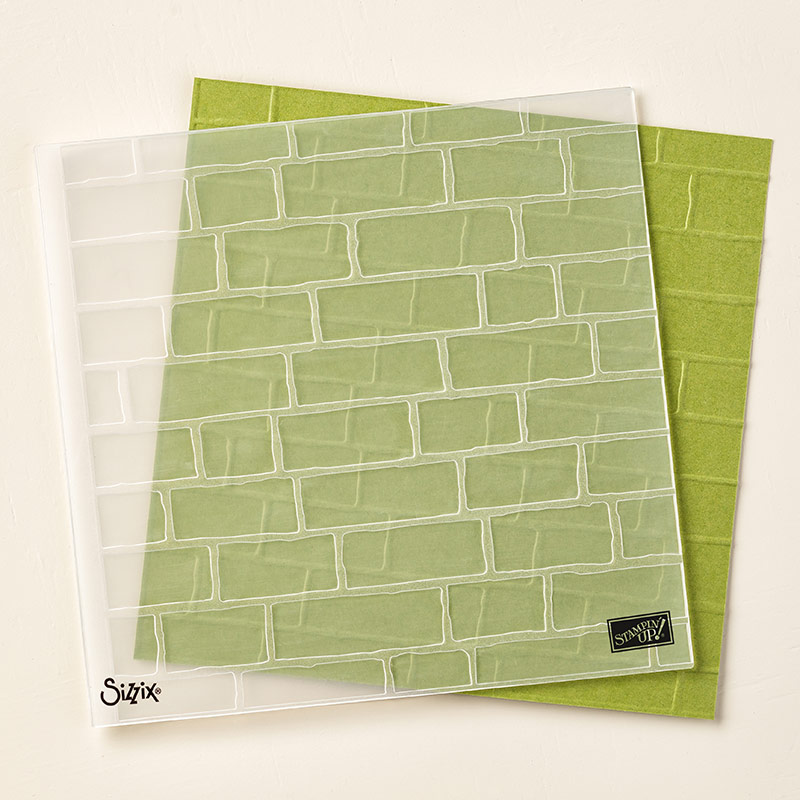
I think the Brick Wall Textured Impressions Embossing Folder makes a huge impact in the background I keep thinking of all the ways I'll be able to use it.
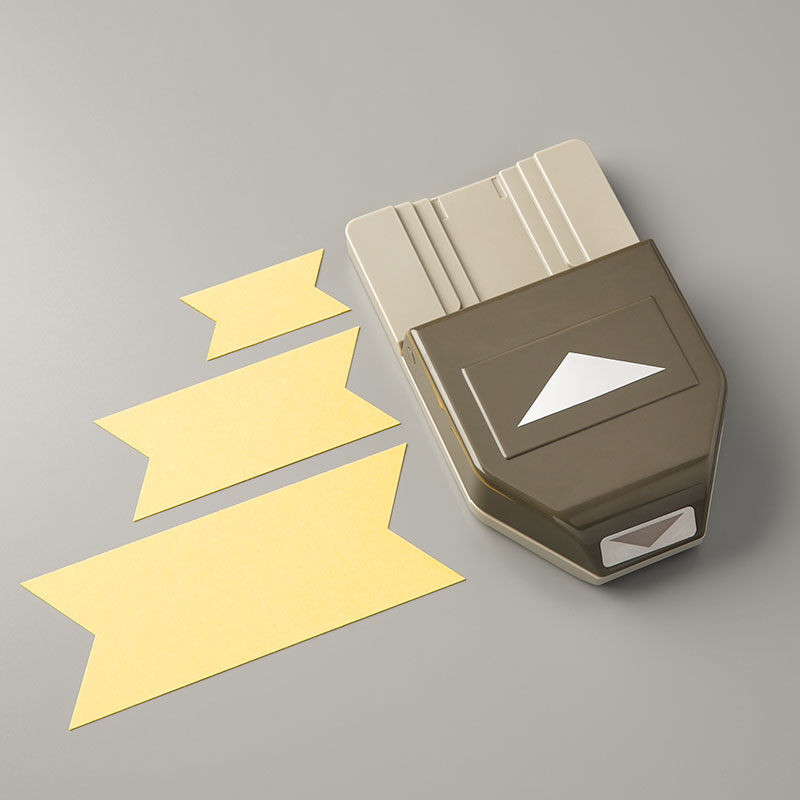
And I am officially in love with the Banner Triple Punch. It is so easy to use! I may now be adding banners to every project! You really need to check it out!

Thursday, July 2, 2015

Celebrate!

I found another card on Pinterest and I just had to try making it! I was in a hurry and needed something simple. I love how this card is simple yet has big impact. Check out Dawn's blog HERE for her original idea. I just changed up the colors a bit and I used the (now retired) Gold Encore ink pad for a little pop, but it would also be beautiful if you used Gold Stampin' Emboss Powder. Or, come up with your own color combination! I'd love to see it!


Tuesday, June 30, 2015

Sale Alert!

Clearance Rack
It's like Christmas in (almost) July! Starting today, Stampin' Up! is offering Bonus Deals! Through August 3rd you can save up to 30% on even more Weekly Deals, or up to 60% on extra items in the Clearance Rack (while supplies last), but remember: Weekly Deals discounts are available in limited quantities before the items return to retail prices, so click HERE to shop my online store before the deals run out!

Thursday, June 25, 2015

Make today amazing!

Here's another card I recently made. I used it as a birthday card and fell in love with it. But with the 4th of July coming up, can't you see making this card using Real Red, Night of Navy and Whisper White? And the sentiment could be used for so many occasions. What fun! 

I wanted to highlight the Amazing Birthday Stamp set and the Stars Border Punch. What fun! If you have questions on any other products I used to make this card, please leave a comment!


Wednesday, June 24, 2015

June Stamp Club Projects

We had our Stamp Club meeting for June recently. It's our last one this session and we're taking a break until fall. Summer slow down!

These projects were actually pretty easy to put together but I think they have a big impact. They will make the perfect small gift for that special someone.

Last week I was thinking about what we might make and I saw these jars in the $1 bin at Target. There were 6 left and that was the exact number I needed! 

I love this card! It is clear you've received something special when you see it! This actually is made to still fit in an envelope. And when you get it, it's like opening a gift because you still have to pull the card out of its pocket! Fun!

Envelope Card
1.       Create Soft Suede (7 ½” x 7 ½”) envelope using Envelope Punch Board. Follow the instructions for a 4”x5” card. Trim top flap and adhere the other three in the center.
2.       To make belly band, cut Crushed Curry using the Starburst Framelits and Big Shot.
3.       Stamp sentiment on Whisper White and cut using Circle Framelits and Big Shot. Add background flower images as desired.
4.       Layer Whisper White circle on top of Crushed Curry Starburst. Wrap band around envelope and adhere. Add Starburst layer.
5.       Use the Corner Rounder Punch to round the corners of the Designer Series Paper.
6.       Punch two holes about a half inch apart at top of DSP. You can use your paper mat to measure the distance. Tie Bermuda Bay Baker’s Twine through the holes.
7.       Layer Crushed Curry and Sahara Sand together. Add embellishments as desired.


Candy Jar
1.       Punch scrap of paper using 1 ¾” Circle Punch and glue it to the lid of the jar.
2.       Ink image for front of jar using StazOn Opaque Cotton White ink. It is a permanent ink and will stay on the jar after it dries.
3.       Stamp flower image on Chalkboard Paper. Punch out using 1 ¼” Circle Punch and add a hole to loop the Whisper White Baker’s Twine through. Add Large Pearl to the flower’s center.
4.       Tie tag around neck of jar using Bermuda Bay Baker’s Twine.


Thursday, June 18, 2015

Happy, Happy, Happy, Birthday!

This was a fun card to throw together. I was inspired by several cards I found on Pinterest and I kind of mashed them all into this one. I was pretty happy with how it turned out. I used quite a few stamp sets, but I love how they all worked together.


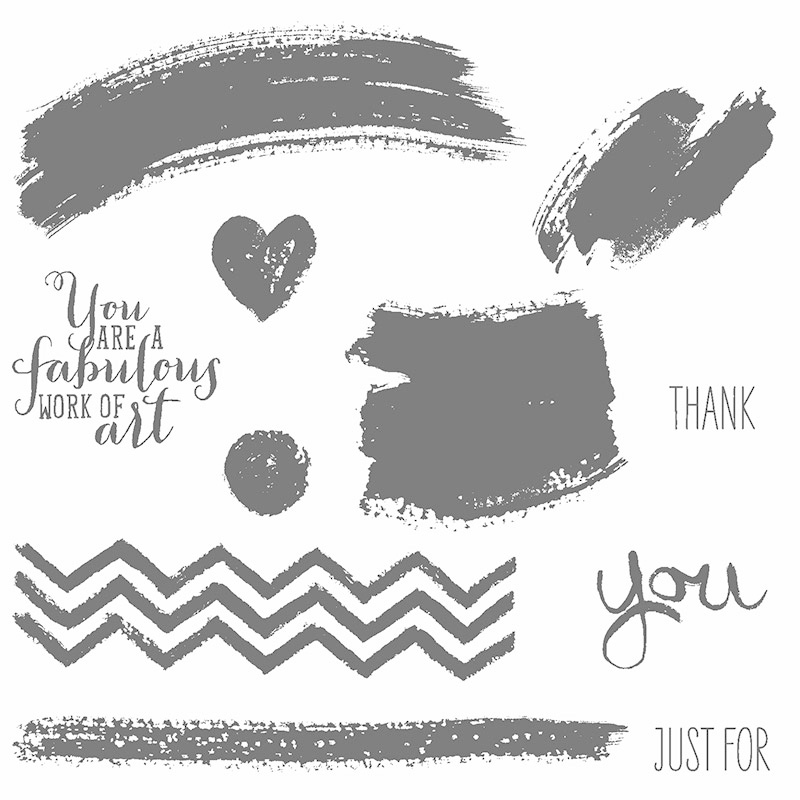
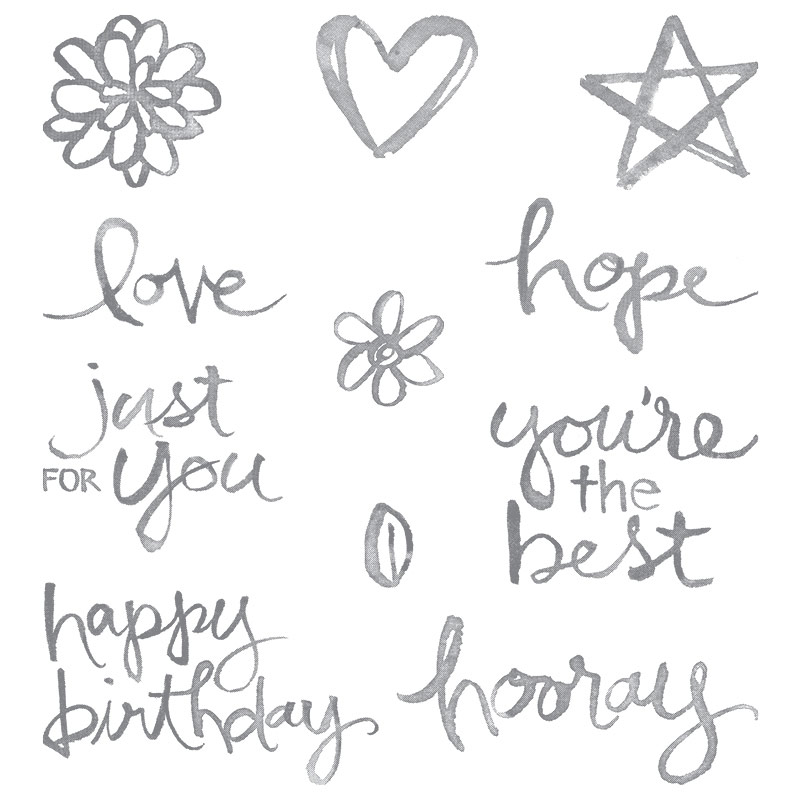
I used Happy Watercolor which just retired, but you can also use Work of Art.


I used Mother's Love (retired) for the flower, but you could use Watercolor Words.


And I also used Gorgeous Grunge for the splatter.


Thursday, June 11, 2015

For the grad in your life

This time of year I am frequently trying to scramble and come up with a card for that special grad in my life. I just love how this one turned out. I was inspired by Rita's card (See here on her blog) that I found on Pinterest. I changed it up just a little bit to use some of my own supplies. I loved the Blue Ribbon stamp set so I'm sad to say that it retired. It was such a versatile set! But you can still find the Gorgeous Grunge set HERE in clear mount or HERE for wood mount.

Gorgeous Grunge

Thursday, June 4, 2015

Best Wishes and Butterflies

I've been working on some cards lately and hopefully I'll be sharing more soon. I'd like to get another Stamp Camp planned, but this month is out of control. Some of these cards might make another appearance at Stamp Camp, so I am trying to decide which ones to share now or later.

This is a card I helped my mom throw together when she realized she needed some wedding cards. I love the simple elegance of this card. I just can not get enough of the stamp set Mother of Mine (from the Occasions Catalog) and the beautiful flowers that come with it. 

Wednesday, May 27, 2015

Thank you to all the teachers!

School is just about out around here! We are so ready for a break in the routine! And we are really ready for warmer days ahead!

But first, it is so important to thank the amazing people who dedicate their lives and career to training up our children. We have been amazingly blessed with teachers who, when they say, "I love your children," leave little doubt to their sincerity. And I am so thankful. It's always hard to know the right teacher gift. Especially when time and/or money come into play. This year I enlisted some help from a friend who sewed coffee cozies for me. You should check her talent out HERE. Everything she makes is absolutely adorable! She made a purse for me last year and I and still loving it! 

Even if you are not a coffee drinker, everyone at some point seems to find themselves at Starbucks with a friend. You'll find Mike and I drinking the tea, thank you very much. And if I'm splurging, I might grab a brownie to go along with it. Yum! So, along with the coffee cozies we added a Starbucks gift card. It was simple, but the cards and tags were homemade (with a little help from a recent My Paper Pumpkin kit!) - with notes inside from the kids - and hopefully it will be a small gesture to show these teachers just how much they mean to us. We will sure miss them!


Wednesday, May 20, 2015

Perpetual Calendar

I have a fun little project to share with you today! We used the Perpetual Birthday Calendar Kit for our Stamp Club project this month. What a fun time! And what a great idea! It's perfect if you are a card-giver, like me. I keep track of birthdays in my Google calendar and I set reminders for a week ahead so I have time to make and send a card. But being able to see a month at a time is going to be such a help - and what a pretty way to do it! I'll be able to better plan my card-making by seeing at a glance just how many cards I'll be needing. This project would also be a great gift for any moms or grandmothers or other card-senders in your life. They will *love* this! So, I thought I'd share my samples to get you going. The directions are really simple and you can just follow the ones that come with the kit.


Or you can go another step further and use the coordinating stamp set:


And you can get even more creative and come up with your own ideas, use some of mine or explore Pinterest!